JAMICA KINDER PHOTOS
|
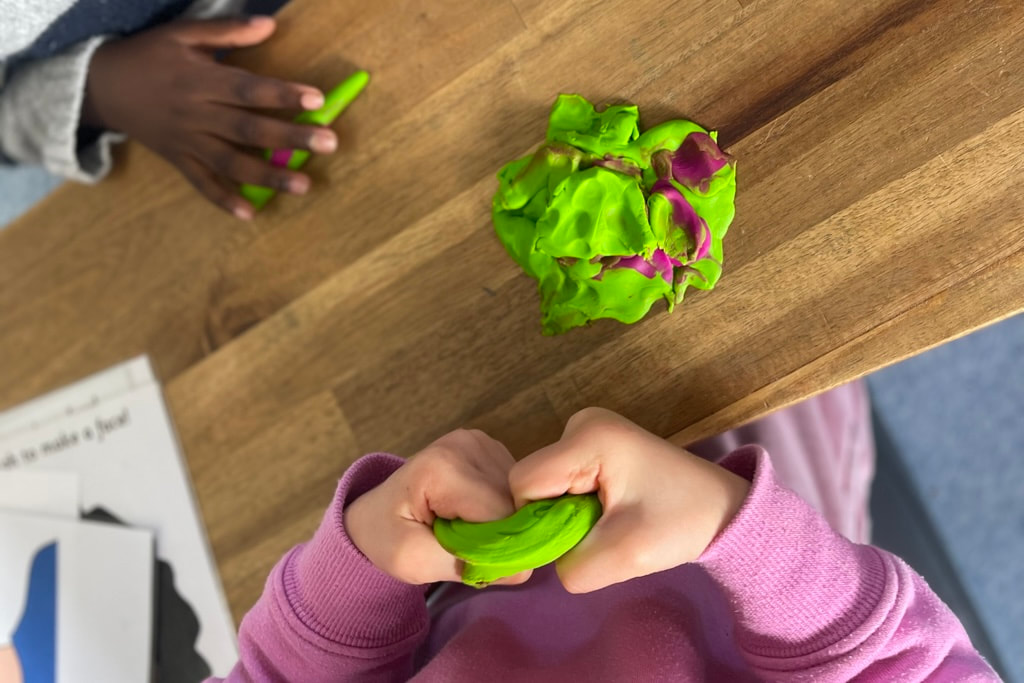
I’m sorry if this offends professional Play-Doh makers ie parents, but today I want to shed light on a hidden talent that often goes unrecognized: kindergarten teachers and their incredible Play-Doh skills. Move over, sculptors and artisans, because these educators are the true masters of molding magic. Prepare to be amazed as I unveil the secret recipe for Play-Doh, straight from the classroom of a kinder teacher extraordinaire!
Step 1: The “Ingredients Dance” First, gather your supplies: two cups of patience, a dash of creativity, and an overflowing bucket of laughter. Now, turn on some funky music, and do a little jig. This step is crucial, as the dance helps infuse the Play-Doh with that special touch of kinder teacher magic. Plus, it adds a bit of cardio to your day. Win-win! Step 2: Flour Power In a large mixing bowl, combine two cups of flour. Go ahead and make it rain flour like you’re in a culinary version of a music video. Embrace the cloud of powdery goodness that surrounds you. Let your inner kinder teacher shine! Step 3: Salt Bae Vibes Sprinkle in half a cup of salt, just like the renowned internet sensation, Salt Bae, adds his signature touch to a juicy steak. Let the salt cascade gracefully from your fingertips, as if you’re seasoning the Play-Doh with a sprinkle of fairy dust. Trust me, it makes all the difference. Step 4: Vivid Rainbows Now it’s time to bring color into the mix. Squeeze in a generous amount of food coloring. Let your imagination run wild and choose vibrant hues that reflect the kaleidoscope of joy found in a kindergarten classroom. Remember, the more colors, the merrier. Let your inner Picasso guide you! Step 5: Oil Magic Add a tablespoon of vegetable oil to the mixture. This secret ingredient gives the Play-Doh its smooth and malleable texture. It’s like adding a touch of moisturizer to your skin—it keeps everything soft and pliable. Plus, it gives the Play-Doh a lovely scent of fresh garden greens. Aromatherapy at its finest! Step 6: Stir with Love Now, it’s time to get your hands dirty, or rather, doughy. Roll up your sleeves, dive into the mixture, and knead it with all your might. Imagine you’re shaping not just Play-Doh, but dreams, potential, and the future. This step requires love, patience, and a little bit of elbow grease. Step 7: Voilà! There you have it—the perfect Play-Doh, crafted with the utmost care and skill of a kinder teacher. Feel free to unleash your imagination and let the sculpting adventure begin. Whether it’s a Play-Doh pizza, a miniature unicorn, or a wonky self-portrait, the possibilities are endless. So, the next time you find yourself marveling at a Play-Doh masterpiece, remember to give credit where credit is due. Kinder teachers, with their unwavering dedication and knack for transforming little hands into molding maestros, are the unsung heroes of Play-Doh. They deserve our applause and admiration. Now, go forth and create your own Play-Doh wonders!
0 Comments
Leave a Reply. |
AuthorAna Campbell Founder and owner of Jamica Kinder Photography, has a passion for Early Childhood Education and its benefits to LIFE Archives
May 2024
Categories |
Early Childhood Photography
Melbourne and Mornington Peninsula Based - As a professional team of photographers what we love most is capturing special memories of young children through their kinder photos.
Our approach to Early Childhood Photography is to capture the children being themselves. Our photography is usually play-based portraits and children are photographed both indoors and outdoors, making it easy to capture each one individually as they play.

 RSS Feed